
 When brewing homebrew clone recipes, yeast selection can often determine how accurately the clone represents the original beer. Luckily, many breweries are happy to share information about what strain of yeast they use, and these yeasts are often the same as the yeast strains currently available to homebrewers. Occasionally however, a brewery will use a proprietary strain of beer yeast that is not available on the market. So how does a homebrew get their hands on that coveted yeast? These are the times when a homebrewer may need to harvest yeast from commercial beer.
Many commercial breweries filter their beer, but once in a while you will come across a bottle or can that’s been re-fermented in the bottle – just like bottling on the homebrew level. A thin layer off yeast can be found at the bottom of the bottle or can. (Belgian brewers are famous for this; Sierra Nevada and the Alchemist’s Heady Topper are other examples.) With proper technique and impeccable sanitation, a homebrewer can actually harvest the beer yeast from the commercial beer, grow it into a pitch-able yeast culture, and use it to create an accurate clone of a commercial beer.
Let me reiterate:
When you harvest yeast from commercial beer, sanitation is crucial! Wild yeasts and bacteria will leap at the opportunity to grow in your yeast starter, so don’t give them the chance. Take care in every step to avoid contaminating your yeast culture.
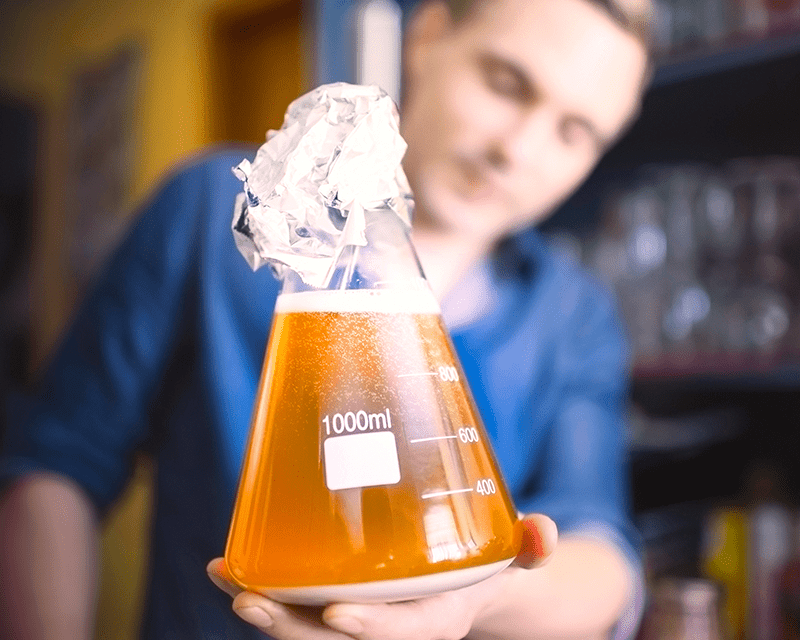
I recently attempted to harvest yeast from a can of Bell’s Oberon Wheat Ale. The culture is waiting for my next batch. Follow the instructions below to harvest yeast from commercial beer:
- Wash your hands and thoroughly clean and sanitize your workspace.
- Before opening the bottle or can, submerge it or spray it with your sanitizer of choice and allow to dry. This will sanitize the outside of the bottle or can.
- Prepare a sterilized mason jar, glass bottle, or flask. A drilled bung with an airlock is ideal, but at this phase, you can also just use a lid or bottle cap. Either soak the jar and its lid in sanitizer or boil in water for 20 minutes to kill off any rogue yeast or bacteria. Allow to cool to room/pitching temperature.
- Prepare a starter wort for the yeast using 1 cup of water and 100 grams of light dried malt extract or yeast food starter. Boil them together for 20 minutes to sterilize, then pour into your jar and cool to pitching temperature.
- Open the commercial beer and pour 90% of it into a glass. This is for you to drink and enjoy!
- Swirl the remaining beer and yeast and pitch into your starter container. Seal and allow to ferment. If you have a magnetic stir plate, use it, otherwise occasionally swirl the starter to give the yeast oxygen so they can reproduce.
- In a few days, you will have grown the yeast
 considerably, though it may be hard to detect with the naked eye. The yeast sample can be kept in the refrigerator until you’re ready to step it up. Use it as soon as possible, as it will lose viability over time. Follow the instructions for preparing a yeast starter to pitch your yeast culture into a five-gallon batch of homebrew!
Have you ever harvested yeast from commercial beer? What was the beer? How did it go? How did you culture the yeast? How did you prepare the yeast starter? Give any details you like in the comments section below.
—–
David Ackley is a beer writer, brewer, and self-described “craft beer crusader.” He holds a General Certificate in Brewing from the Institute of Brewing and Distilling and is founder and editor of the Local Beer Blog.
Belgian brewers hardly ever use the same yeast for after (bottle) fermentation.
They use other yeasts because if there other properties not taste but better flocculation, high O2 consuming properties ans so on.